Toys... Who doesn't like toys?
Toys have been found in deposits from ancient Sumer dating to 2600 BCE!
Fun fact: Dandelions' Gyrochute was inspired by a two-blade "bamboo-copter" toy!
Dandelions has a long history with toys.
So, one day, our bright and brilliant team decided to create a Gyrochute silicone toy to help visualize our product and, of course, to win people's hearts!
In this blog post, we are going to show you how we made our very own silicone toy. Let's check it out!
Items That You Need To Make Your Own Silicone Toy
Mould
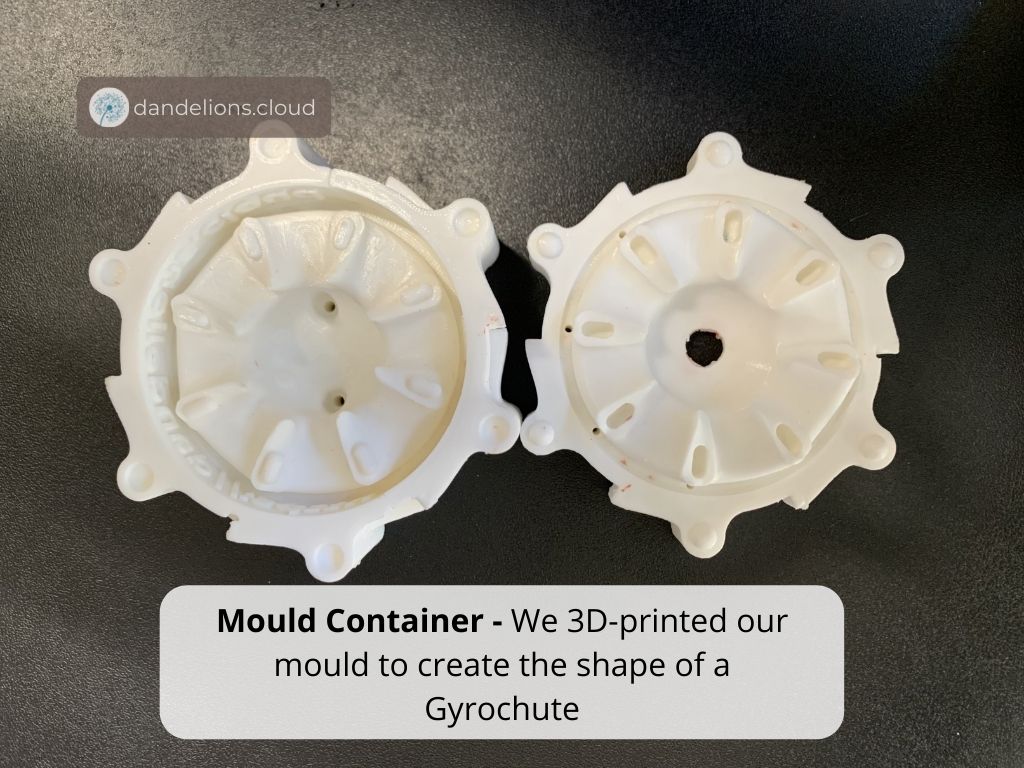
Mould is a hollow container used to give shape to molten or hot liquid material when it cools and hardens. This is used to shape your silicone toy. We have 3D printed our own mould to make the shape of our Gyrochute.
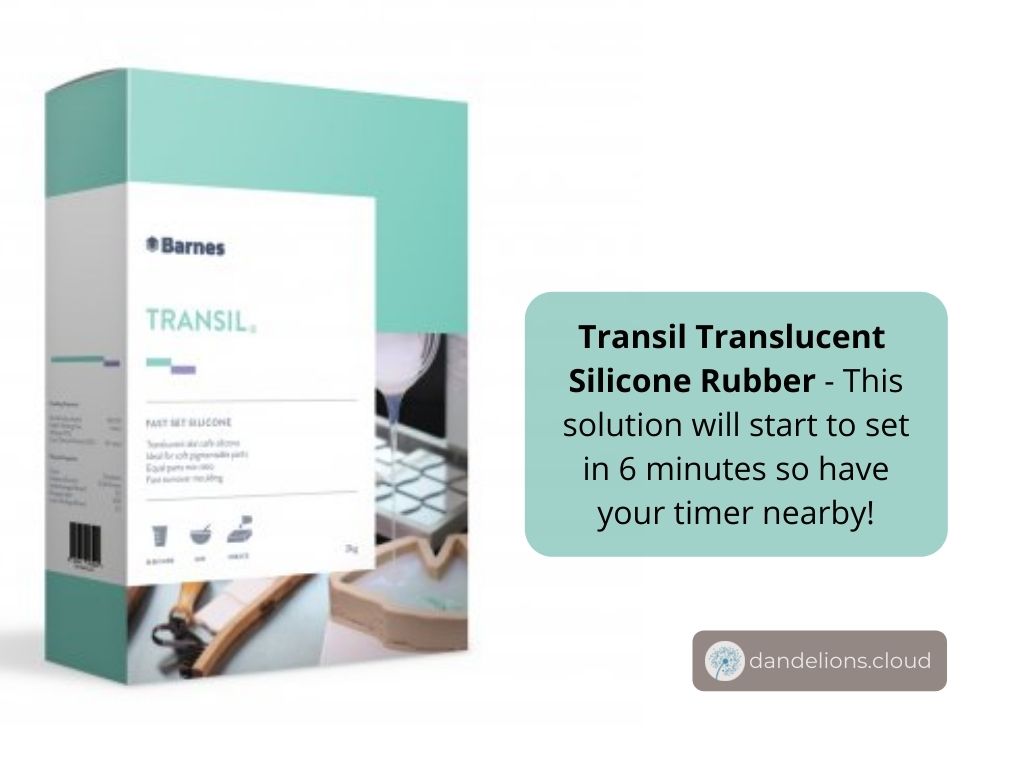
Transil Translucent Silicone Rubber
This is a two-component silicone designed for taking very fast impressions.
Syringe
This is used to transfer the silicone mixture into the mould container.
Pigment

This is used to add colour to your silicone toy. You can be creative and mix different pigment colours for your silicone toys!
Stick
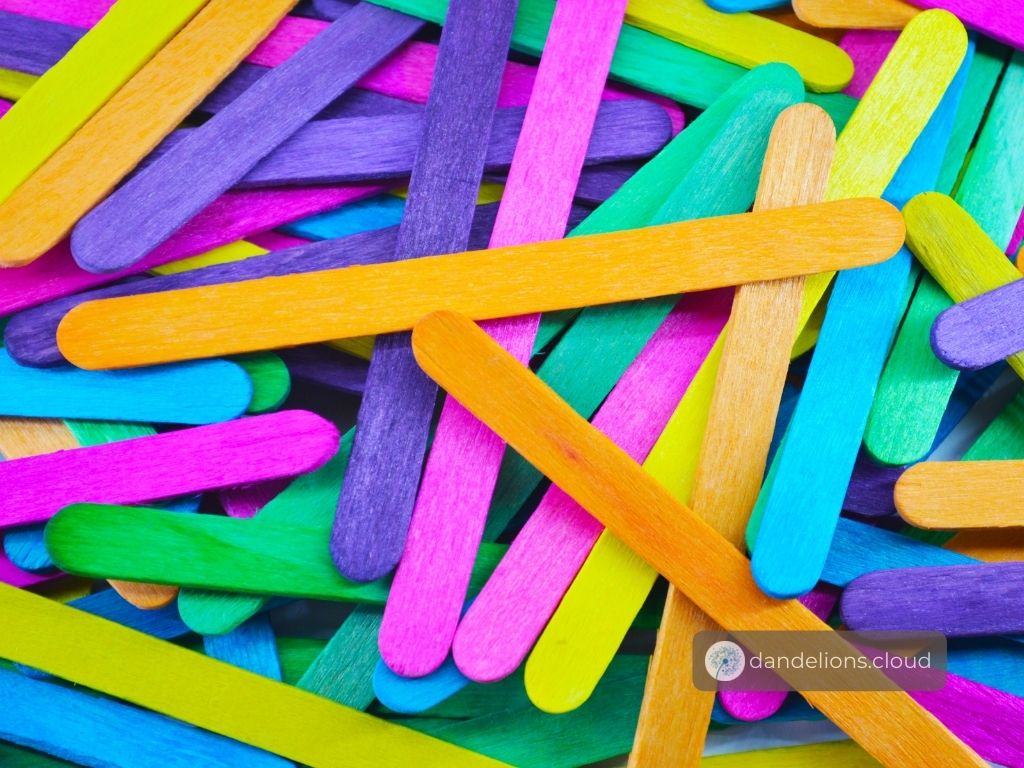
This is used to mix the pigment with the silicone mixture. You can use any type of stick. For this project, we used an ice cream stick. Make sure you have plenty of sticks available, especially if you are making toys with multiple colours.
Measuring scale
Yes, we all know the saying 'follow your heart'. However, we highly recommend you follow the right measurements for this project! Please use a measuring scale!
Brush
This is used to clean the mould container from previous projects.
Scissor
This is used to cut excess material when the silicone has set.
Vacuum chamber
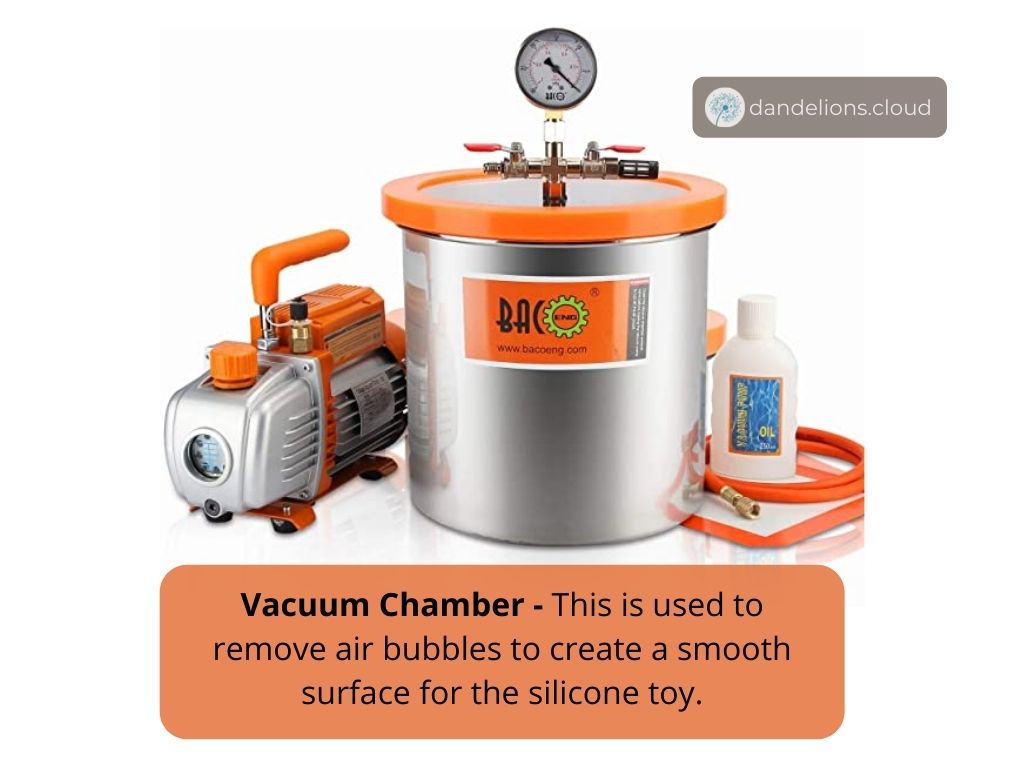
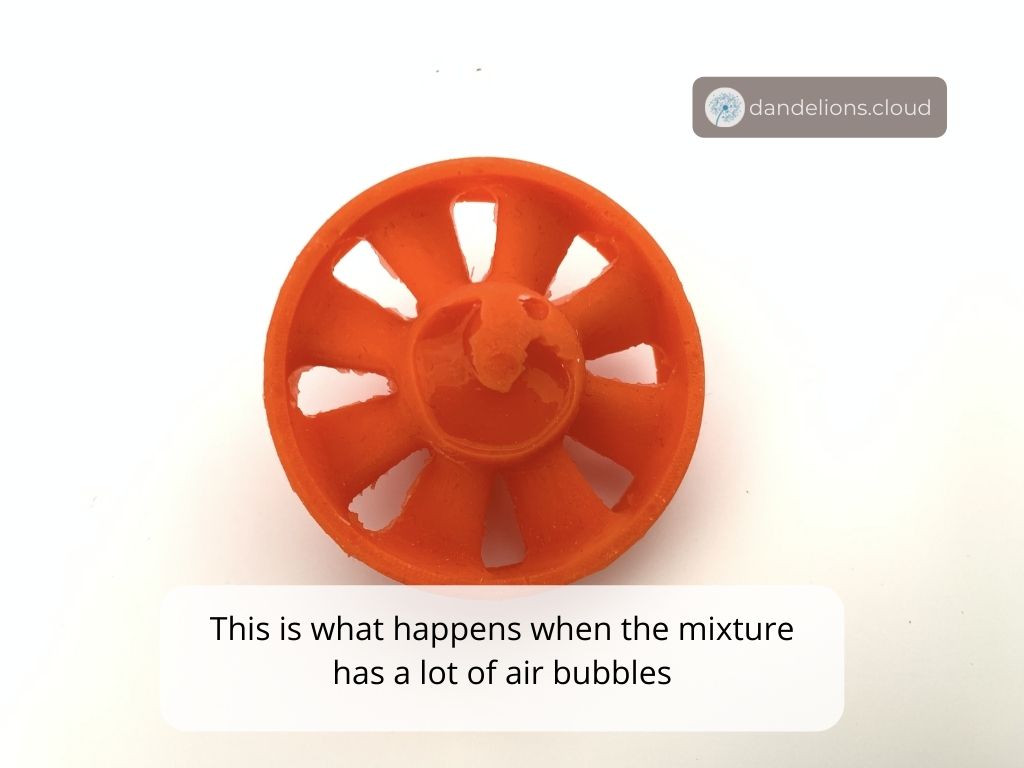
This is used to remove air bubbles to create a smooth surface for the silicone toy.
How To Make The Silicone Mix For Silicone Toy
Okay, now that we have all of the materials, let's begin with the project!
There is one thing that you want to make sure of while making the silicone mixture - the silicon mixture is going to start to set in 6 minutes, so make sure that you have a timer nearby. If you continue to work with the solution after 6 minutes, you will destroy the mixture.
Step 1 - Prepare your mould container
Have your mould container ready. Make sure that it is clean.
Step 2 - Mix the silicone solution
Pour the Transil Translucent Silicone Rubber solutions into a container with a ratio of 50:50. Once you've poured the solution, make sure that you start your timer.
Step 3 - Adding pigment
Take some pigments by using a stick. The more pigment you add, the more colour will show on your toy. Then, mix the silicone solution with the pigment. Make sure that you mix it well so your toy will have a nice colour.
If you decided that you want to add more pigment, use a different stick to take the pigment. You do not want to use the same stick twice!
Step 4 - Vacuum chamber
When your silicone solution is well-mixed with the pigment, you want to put it in a vacuum chamber for about 1 minute.
Step 5 - Injecting the silicone solution
Once the air bubbles are removed, you want to pour your silicone solution into a syringe. Pour as much silicone solution as you can as it is better to have too much than too little. Once the silicone solution is transferred into the syringe, inject it into the mould container.
If you see some air bubbles on top of the mould container, you can use a wire to remove the bubbles.
Step 6 - Waiting for the silicone to shape
Once you are done with step 5, all you have to do is wait for 30 minutes for the silicone mixture to properly set in the mould container.
After 30 minutes, your silicone toy is now ready! Remove the silicone from the mould container and cut the excess materials with a scissor.
If you would like to make another silicone toy by using the same mould, make sure that you clean the mould properly before moving ahead with your next project.
Congratulations! You now have your very own silicone toy!

Watch how you can make your own silicone toy here.